Mask Making Class #2
Last night we concluded the class, but the home work continues....
But let me start where I left off....

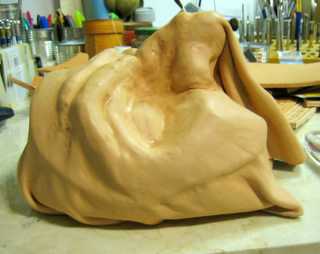
Here you can see just how much the leather has to stretch to fit around the mold.
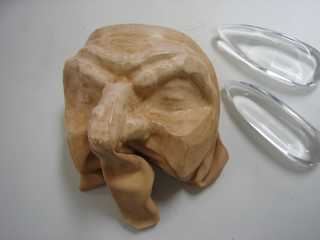
With a lot of tapping and burnishing, allth detail comes to the fore - the mold is rough and full of character and the leather thin enough to shown almost all of it.

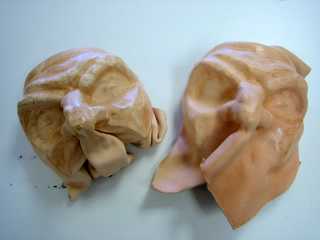
After the first mask had dried completely, I took it off and made a second one with a thicker leather. (To get technical: the mask on the left was made with 2-3oz leather and the one on the right with 5-6oz leather.)

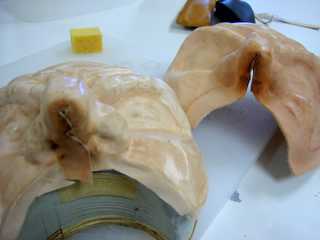
With the leather in shape, we trimmed away the excess around the edges and the gathering under the nose, so that a small seam can be made.

It is the wet leather (under the noses) that make it appear so dark.
Next time, coloring the mask ......
But let me start where I left off....

Here you can see just how much the leather has to stretch to fit around the mold.
With a lot of tapping and burnishing, allth detail comes to the fore - the mold is rough and full of character and the leather thin enough to shown almost all of it.

After the first mask had dried completely, I took it off and made a second one with a thicker leather. (To get technical: the mask on the left was made with 2-3oz leather and the one on the right with 5-6oz leather.)

With the leather in shape, we trimmed away the excess around the edges and the gathering under the nose, so that a small seam can be made.

It is the wet leather (under the noses) that make it appear so dark.
Next time, coloring the mask ......


0 Comments:
Post a Comment
<< Home